 Snapline
How to take a scrolling screenshot on a Mac
By Ziad Ziadeh, Snapline’s developer · Published 3 August 2026 · Last updated 24 September 2026
The short version
- macOS has no built-in scrolling screenshot. ⇧⌘5 captures what's on screen, and that's the end of it. There is no "Full Page" option like the one on iPhone.
- For a web page, your browser can export the full page for free: a PDF or PNG from Safari, a PNG from Chrome's developer tools, a PNG from Firefox's screenshot tool, or one click with the free GoFullPage extension.
- For a scrolling app window (such as a chat thread or document), you need a screenshot app that stitches: Shottr (free to use; it scrolls for you, or you scroll in its manual mode), CleanShot X (paid, also scrolls sideways), or Snapline, where you scroll down and it stitches live: press ⌥⌘L, select the area, click Start, scroll, then click Done. One tall PNG.
What macOS gives you (and doesn't)
macOS cannot take a scrolling screenshot. The built-in tool (⇧⌘3, ⇧⌘4, ⇧⌘5; see Apple's documentation) captures exactly what is visible on screen, once. The feature people are searching for goes by many names (scrolling screenshot, long screenshot, rolling screenshot, full page screenshot, scrolling screen capture), and macOS ships none of them: there is no way to screenshot a page and scroll down as it captures, and no "Full Page" tab like the one iOS offers after a screenshot on an iPhone. Anything longer than your display means several overlapping shots and manual assembly, or one of the methods below.
| Method | Works on | Output | Cost |
|---|---|---|---|
| Built-in tool (⇧⌘5) | Anything visible, no scrolling | PNG of one screen | Free, preinstalled |
| Safari: File → Export as PDF | Web pages in Safari only | Full-page PDF | Free, preinstalled |
| Safari: Web Inspector → Capture Screenshot | Web pages in Safari only | Full-page PNG | Free, preinstalled |
| Chrome developer tools | Web pages in Chromium browsers only | Full-page PNG | Free |
| Firefox screenshot tool | Web pages in Firefox only | Full-page PNG | Free |
| GoFullPage extension | Web pages in Chrome, Edge, or Firefox; it scrolls the page for you | Full-page PNG, JPG, or PDF | Free; Premium adds editing |
| Shottr scrolling capture | "Any app, any window", its site says; it scrolls for you, or you scroll in manual mode | One tall image | Free to use; optional license |
| CleanShot X scrolling capture | "Every app", its site says; vertical and horizontal; you scroll or turn on Auto-Scroll | One tall (or wide) image | Paid: one-time license, cloud plans by subscription |
| Snapline scrolling capture (⌥⌘L) | A vertically scrolling window or region; you scroll down (limits) | One tall PNG, annotatable and searchable | One-time license; free to try |
Free option 1: Safari
Safari has two routes to a full page, and neither needs an extension.
As a PDF: File → Export as PDF
- Open the page and let it finish loading.
- Choose File → Export as PDF…
- Safari writes the whole page, including everything below the fold, into a PDF.
Fast and free. The catches: the output is a PDF rather than an image, and the saved layout may differ from the page on screen. Check the PDF before sharing it, especially for pages with dynamic content.
As a PNG: Web Inspector's Capture Screenshot
- Once: open Safari → Settings → Advanced and turn on Show features for web developers.
- Open the page, then press ⌥⌘I to open Web Inspector.
- In the Elements tab, right-click the top html element and choose Capture Screenshot.
Safari saves the whole document as a PNG. It's a developer feature, so it requires opening the inspector. Selecting an individual element instead of html captures that element rather than the whole document.
Free option 2: Chrome, Edge, Brave, or Arc
Chrome and every browser built on it can render a true full-page PNG through the developer tools:
- Open the page, then press ⌥⌘I to open developer tools.
- Press ⇧⌘P to open the command menu.
- Type full size and choose Capture full size screenshot.
Chrome saves a PNG without installing an extension. If you'd rather have a toolbar button, GoFullPage does the same job in one click. Full-page capture still has the limitations below.
Free option 3: Firefox
Firefox is the one browser with a full-page screenshot in plain sight, no developer tools required:
- Press ⇧⌘S, or right-click anywhere on the page and choose Take Screenshot.
- Click Save full page in the top-right corner.
- Click Download (or Copy to put it on the clipboard).
Firefox saves a PNG of the whole page. If you'd rather have it at a specific scale, the developer tools console accepts :screenshot --fullpage as well.
Free option 4: GoFullPage, a one-click extension
GoFullPage is a free browser extension for Chrome, Edge, and Firefox that captures a whole web page in one click:
- Install it from your browser's extension store.
- Click its toolbar icon, or press ⌥⇧P.
- It scrolls down and across the page by itself, then opens the assembled image in a new tab.
- Download it as a PNG or JPG, or export a PDF.
Unlike the developer-tools routes, GoFullPage scrolls the real page, and its FAQ says it handles inner scrolling areas (such as the message pane of a webmail client) and iframes. It is still web-only: it cannot see anything outside the browser tab. The capture is free; a Premium upgrade adds editing and annotation.
Where the free options stop
These browser methods capture web pages, not native app windows. Lazy-loaded content and nested scrolling panels may be missing from a full-page export. Scroll through the page first and inspect the saved result. Browser tools also offer smaller captures: Firefox supports region selection, and Safari Web Inspector can capture an individual element. Printing to PDF may change the layout and split it across sheets; use a PNG when you need an image to annotate or share.
Apps that stitch app windows: Shottr and CleanShot X
Outside the browser, a screenshot app has to capture the window while its content scrolls and join the frames. Three Mac apps do this outside the browser, and they differ on who does the scrolling: Shottr scrolls for you unless you switch on its manual mode, CleanShot X lets you choose, and Snapline leaves it to you. Each maker's compatibility claim is its own; the limits each one documents are below.
Shottr: free to use, scrolls for you by default
Shottr is a small, fast screenshot app that is free to use; it asks you to consider buying a license every so often. Its site says scrolling capture works in "any app, any window", and by default it scrolls the content for you while it stitches. Captures stop at 20,000 pixels tall by default, and the limit can be raised to 200,000. Apps that scroll in a non-native way (its FAQ names Terminal, Visual Studio Code, and Finder's column view) come out choppy with automatic scrolling, and scroll utilities such as Scroll Reverser or MOS can interfere. The fix for both is Shottr's manual scrolling capture, which its FAQ links to: switch it on once, choose Manual Scrolling Capture from its menu bar icon, select the area, and scroll it yourself.
CleanShot X: paid, and the only one that scrolls sideways
CleanShot X is a paid all-in-one screenshot and recording app. Its feature page says scrolling capture "works in every app", and you can either scroll yourself or switch on Auto-Scroll. It is the one tool on this page that also captures horizontally scrolling content, which matters for wide spreadsheets, timelines, and boards.
Which one to use
- Free, and hands-off: Shottr.
- Content that scrolls sideways: CleanShot X.
- You'd rather not give a screenshot app control of other apps, or you want every capture kept in a library you can search by its text: Snapline, below. It never scrolls other apps, so Screen Recording is the only permission it needs.
Scrolling app windows with Snapline
Snapline is a native macOS screenshot app whose scrolling capture stitches a vertically scrolling window or selected region:
- Press ⌥⌘L (rebindable).
- Select one scrolling window or region, then click Start.

- Scroll down through the content yourself, at your own pace. A live preview grows beside the selection as Snapline stitches the frames.
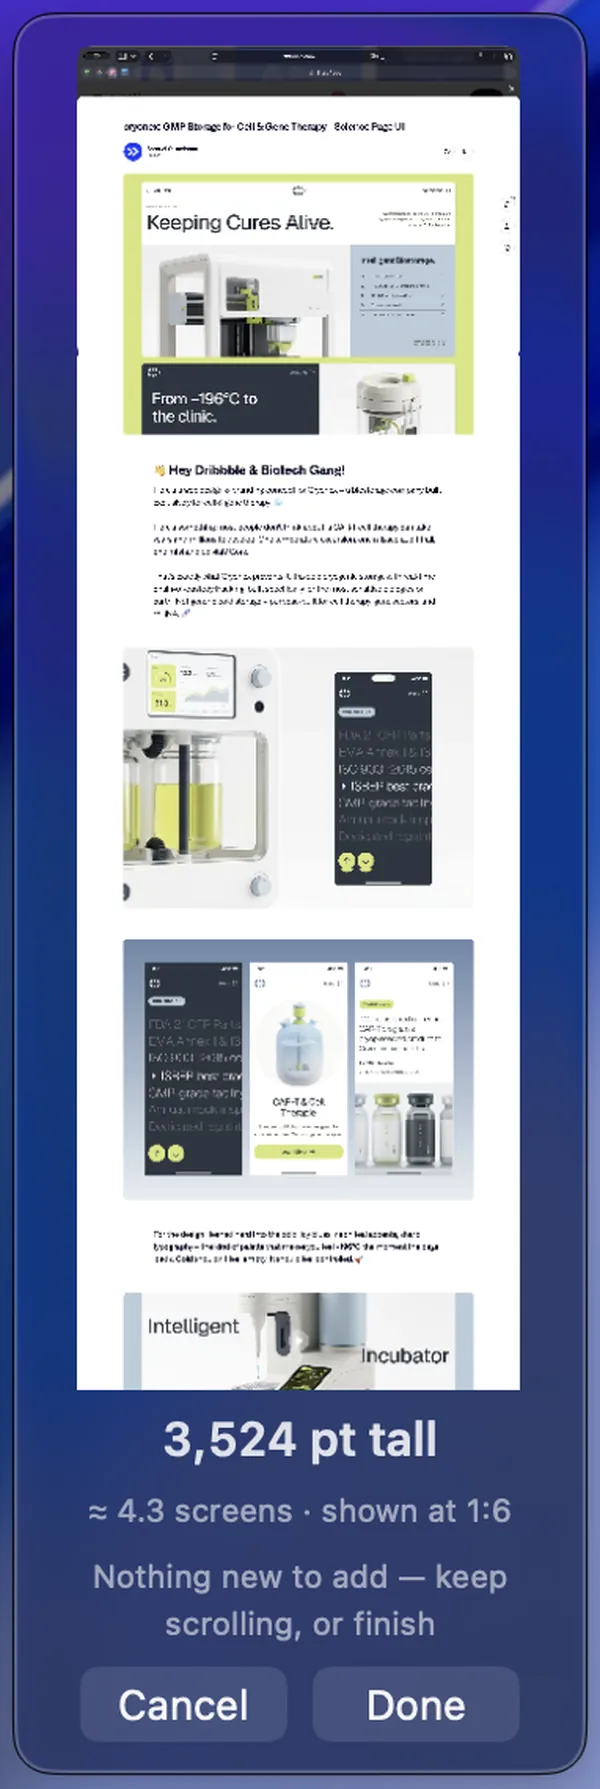
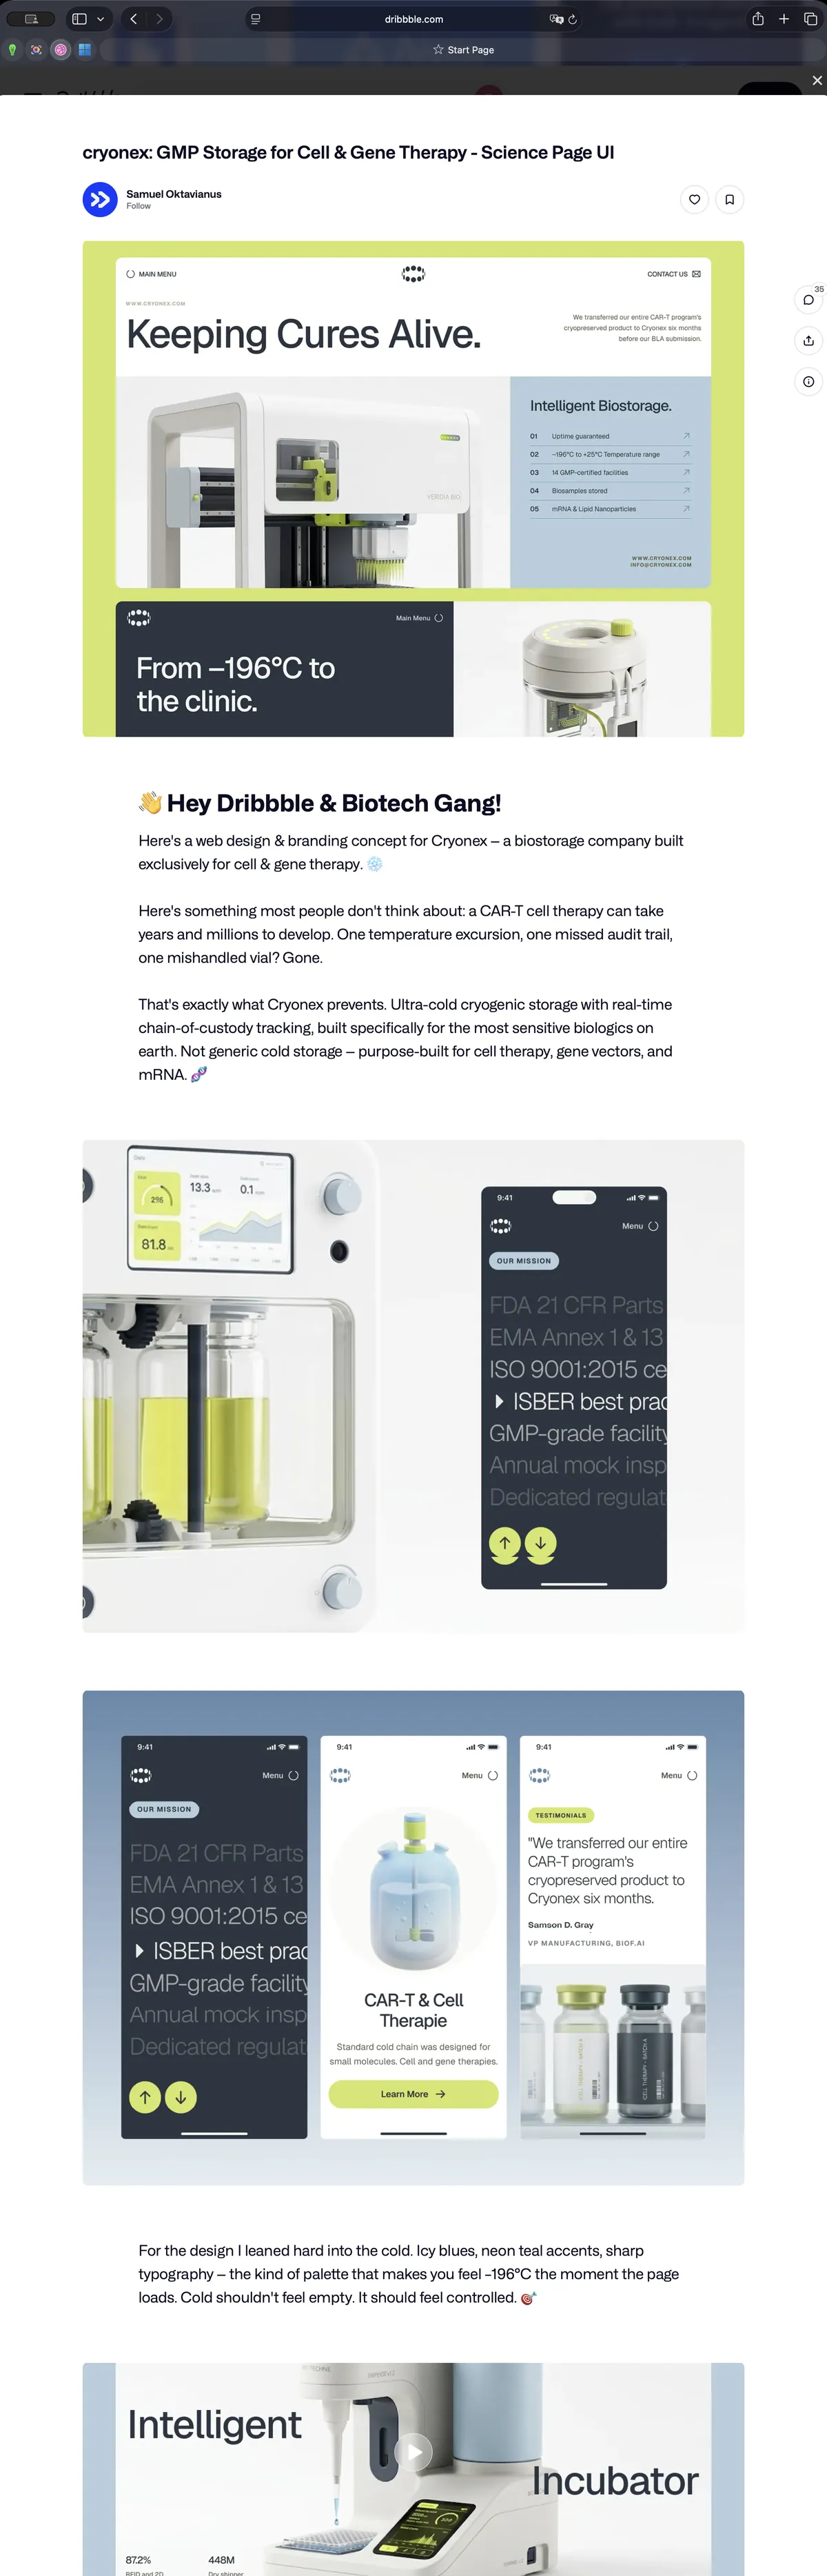
The preview keeps a running height, so you can see how far you have captured. - Click Done. The result is one tall PNG that behaves like any other screenshot: annotate it, search it by its text, pin it.
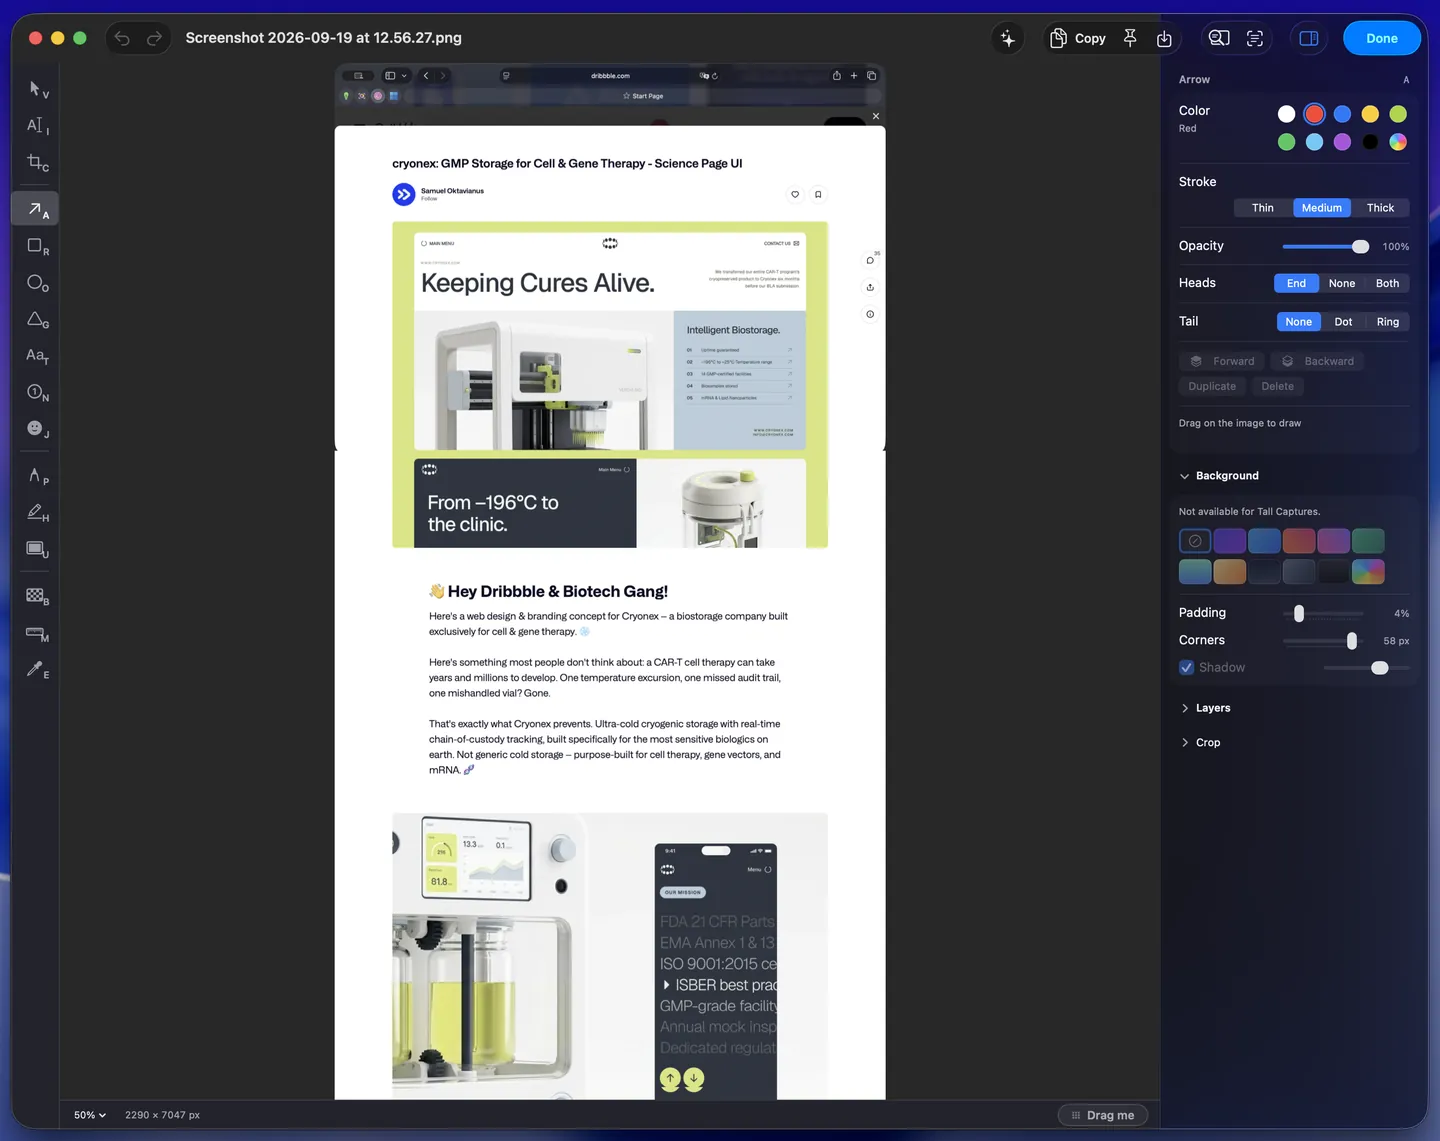
Snapline detects stationary headers and footers to avoid repeating them at each join. The image grows downward only: scrolling back up adds nothing, so start at the top of what you want, and for a chat, scroll to the oldest message first. Scroll steadily, keep the window the same size, and watch the preview. If overlap is lost, scroll back up until capture resumes, then carry on down. The fixes below cover the cases it does not handle. Capture uses the Screen Recording permission; Snapline does not send scrolling input to other apps.
Snapline is free to try in full for 14 days (after the trial, capture unlocks with a one-time license: no subscription, no account) and requires macOS 14 or later.
Fix missing content or broken joins
The browser screenshot is missing images or the bottom of the page
Scroll through the page and wait for images to load before capturing it again. A nested panel can scroll independently of the document, so a full-page export may show only its visible portion. Capture that panel separately. For an infinite feed, choose where to stop instead of expecting a finite full-page export.
The scrolling preview stops growing
Scroll back up a little to restore overlap, then continue down more slowly. Avoid jumping with the scrollbar. Pause videos or animations where possible so the content stays stable between frames.
The capture is missing what was above where I started
Snapline adds content only as you scroll down. For a chat, or anything else you read upward, scroll to the oldest message first, then start the capture and scroll down.
The selection includes two scrolling panes
Select only the pane you want. Snapline joins vertical scrolling; it does not combine independently scrolling panes or stitch horizontally. Keep the window width and zoom unchanged during capture.
The capture ends before the whole document
If Snapline offers Done after the window changes or a capture limit is reached, keep the captured portion and start another capture for the remainder. Review the saved image for missing sections before sharing it.
Full page screenshot vs. scrolling screenshot
The two phrases get used interchangeably, but they describe different mechanisms, and the difference decides which method you need. A full page screenshot is the browser re-rendering a web page at its full height and saving that as one image: it never scrolls anything, which is why it can misrender lazy-loaded content, and why it exists only inside a browser. A scrolling screenshot captures what is actually on screen while the content scrolls and stitches the frames together: it can capture app windows, at the size you see, with only the region you chose. For a web page, either route gives you one tall image. For anything outside the browser, only the scrolling capture does.
Every shortcut on this page
| Shortcut | Where | What it does |
|---|---|---|
| ⇧⌘3 | macOS | Screenshot of the whole screen (visible part only) |
| ⇧⌘4 | macOS | Drag a region; Space then click for a window |
| ⇧⌘5 | macOS | The screenshot toolbar: region, window, screen, recording |
| ⌥⌘I then ⇧⌘P | Chrome, Edge, Brave, Arc | Developer tools, then the command menu for Capture full size screenshot |
| ⌥⌘I | Safari | Web Inspector; right-click html → Capture Screenshot |
| ⇧⌘S | Firefox | Screenshot tool with Save full page |
| ⌥⇧P | GoFullPage (Chrome, Edge, Firefox) | Capture the whole page in one click |
| ⌥⌘L | Snapline | Scrolling capture of a vertical window or region (rebindable) |
Questions
How do I take a scrolling screenshot on a Mac?
For a web page, use the browser: File → Export as PDF in Safari, Capture full size screenshot in Chrome's developer tools, Save full page in Firefox's screenshot tool, or the free GoFullPage extension. For anything else (Slack, Messages, a PDF, code, a settings pane), use a screenshot app that stitches frames as the content scrolls, such as Shottr, CleanShot X, or Snapline. In Snapline: press ⌥⌘L, select the area, click Start, scroll, then click Done. The result is one tall PNG.
Can you take a scrolling screenshot on a Mac with the built-in tool (⇧⌘5)?
No. The built-in tool has never captured more than what's visible on screen, and there is no Full Page option like the one on iPhone and iPad. That's the gap this whole page exists to fill.
How do I take a scrolling screenshot on a MacBook Air or MacBook Pro?
Exactly the same way as on any other Mac. Everything on this page is macOS, not hardware: it works the same on a MacBook Air or MacBook Pro as on an iMac, Mac mini, or Mac Studio. A scrolling screenshot on a MacBook is the same capture, just usually with more below the fold, since laptop screens show less at once.
How do I take a scrolling screenshot on a Mac in Chrome?
Open the page, press ⌥⌘I to open developer tools, press ⇧⌘P for the command menu, type full size, and choose Capture full size screenshot. Chrome saves a PNG of the whole page to Downloads. The same steps work in Edge, Brave, and Arc.
What is the difference between a full page screenshot and a scrolling screenshot?
A full page screenshot is the browser re-rendering a web page at its full height and saving that as an image; it only exists for web pages. A scrolling screenshot captures whatever is on screen while the content scrolls and stitches the frames, so it can capture app windows, at the size you see, with the region you choose. For a web page either gives you one tall image; for anything outside the browser only the scrolling capture does.
Is a long screenshot, rolling screenshot, continuous screenshot, or scrolling screen capture the same thing?
Yes. Long screenshot, rolling screenshot, continuous screenshot, scrolling capture, scrolling screen capture, and full-page screenshot all describe one tall image of content that doesn't fit on the screen at once. A screen capture of a scrolling window is the same job from the other direction: the window scrolls, the frames are joined. macOS offers none of them natively; the methods on this page are the ways to get one.
Can I take a screenshot while scrolling on a Mac?
Not with the built-in tool. Shottr and CleanShot X can scroll the content for you while they capture. In Snapline, start a scrolling capture and scroll down steadily while the preview grows. If you jump too far and lose overlap, scroll back up to recover before continuing.
Do scrolling screenshots work outside the browser, in Slack, Messages, or a PDF?
The browser exports don't; they're web-only. A stitching screenshot app is the only way to capture a scrolling view in an arbitrary app, which is most of what people actually need: chat threads, code review, long documents, a PDF in Preview, settings panes.
Is there a free app for scrolling screenshots on a Mac?
Yes. For web pages, the browsers' own tools and the GoFullPage extension are free. For app windows, Shottr is free to use (it asks you to consider buying a license every so often) and scrolls the content for you, or lets you scroll in its manual mode. Snapline is free to try in full for 14 days, then capture needs a one-time license.
Do Shottr and CleanShot X take scrolling screenshots?
Yes, both, and each says it works in any app. Shottr scrolls the content for you, or lets you scroll in its manual mode, and stops at 20,000 pixels tall by default (200,000 at most). CleanShot X lets you scroll yourself or turn on Auto-Scroll, and it also captures content that scrolls horizontally.
What is a drag screenshot on a Mac?
Usually people mean the built-in region capture: press ⇧⌘4 and drag a rectangle over the part of the screen you want. It captures only what's visible inside that rectangle at that moment; it doesn't scroll. To capture a region that continues below the screen, use a scrolling capture instead.
Why does Snapline make you scroll yourself instead of scrolling automatically?
You control the pace and can pause while content loads. Snapline reads the screen without sending scrolling input to another app. Large jumps, resizing the window, or selecting independently scrolling panes can interrupt capture; the troubleshooting steps above explain how to recover or keep the portion already captured.